Easy Backyard Composting
L. David Roper
roperld@vt.edu
http://www.roperld.com/personal/roperldavid.htm
This is web page http://www.roperld.com/science/composter.htm.
Why Make
Compost
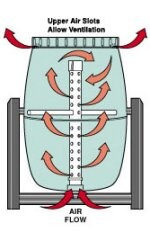
I tried several different types of composters before I settled on the tumbler one described here .
Urban Compost
Tumbler
For details about the tumbler composter and how to order it, see the web
site:
http://www.urbangardencenter.com/products/composter/uct9/index.html.
I highly recommend getting two. I am sorry to report that the Urban Compost
Tumbler is no longer being made: http://www.urbangardencenter.com/.
Some items that I have found helpful in using the tumbler composter:
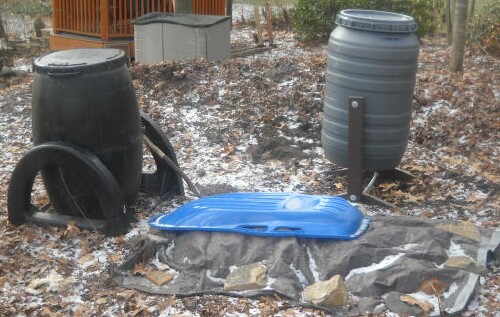
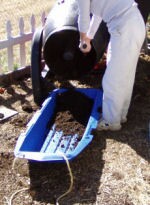
- Dig a 1-foot deep trench under the composter and out
about a foot on one side of it to make it easy to empty it. I got a narrow
sled to put under it, as shown in a picture below, for ease of moving
the compost after it comes out.
- Use an oil on the two large bowls when putting them
together and put brass screws into the tabs where the two pieces latch.
The instructions do not say this.
- Put the lid on immediately and keep it on for a few
days after putting the composter together before putting wastes in the
composter. Otherwise, the top opening can get out of round, making
it difficult to put the lid on.
- When putting the lid on pound around down on it with
your fist before turning it to latch.
- I find that putting about 3 shovels of dirt and garden
waste, e.g. leaves, with each bucket of kitchen waste makes a good
compost.
- I find that I do not need to put any water in them.
Enough gets in by the food scraps and the garden waste and some rain
water. Actually, I removed the plug from the bottom to let as much drain
out as possible.
- Paper towels can be put in the composter, if they do
not have toxic chemicals on them. Use http://www.goodguide.com
to find out non-toxic cleaning liquids to buy.
- I fill them about half full to reduce the amount of
force needed to rotate them.
- I fill one and then allow it to stew while I fill
another one, rotating both three times each time I put kitchen scraps in
one. I find it much easier on my back than the old method of turning
compost by a shovel.
- I fill them only about half full or less to make it
easier to turn them and to get more complete mixing when turning. When it
gets too hard to turn, I start using the second composter.
- To get complete composting the device needs to be in
the sunlight and kept clean, so that the black surface absorbs as much
solar energy as possible. Mine are in the shade; the material is black
when I take it out, but not fully composted. I depend on worms to finish
the job.
- The compost may freeze during long spells of cold
weather. In such a case you may have to put new material in another
container outside sealed from pests. The lid may freezed
shut making it necessary to use a hammer to gingerly break it free.
- There is a drain hole in the bottom. Use a stick to
clean it out as needed, so the water can drain out.
|
The company that made these composters no longer exists. It appears to me that a similar vertical rotating barrel composter is available at https://www.thecarycompany.com/plastic-rain-barrels-56bcom. |

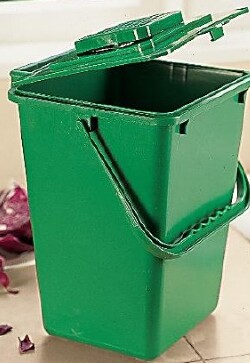
Another important part of composting is how to store compostable material in the house before taking it to the composter outside. I tried several ways and finally settled on a 2.5-gallons bin with an activated-carbon filter in the lid:
L. David Roper interdisciplinary studies
Green Cone Food
Digester
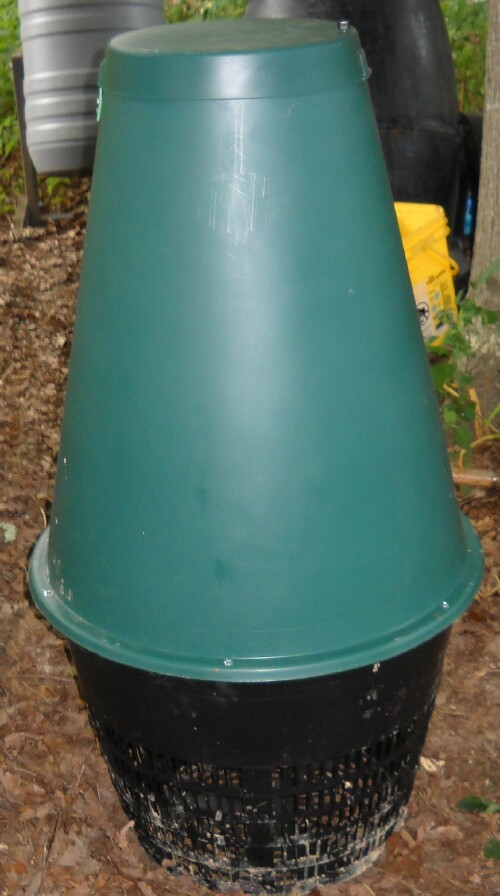
The location of our composters is not ideal: There is much shade. Even with
the two tumblers the compost is still not quite done when I take it out. So I
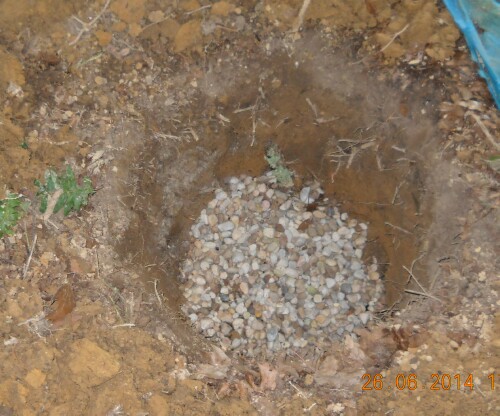
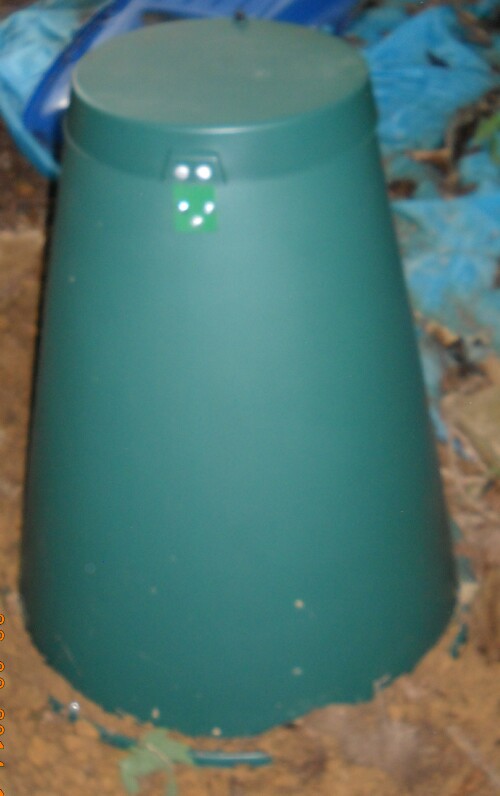
added food digester. I bought the Green Cone Digester.
|
|
|
|
|
|
Only food scraps are to go in it. My plans are to put about half of our food scraps in it to give the tumblers a longer time to cure the compost.
References
- Composting
for Beginners
- Guide to Composting at Home
- Composting Yard and Food Waste at Home
- Seattle Composting Resources Guide
- Yard Waste Composting
- Food Waste Composting
- Using Compost
- Composting Questions and Answers
- Green Cone Composting System and http://www.planetnatural.com/product/green-cone-composting-system/
- Green Cone Manual
- http://www.care2.com/causes/32-surprising-things-you-can-compost-and-16-things-you-shouldnt.html
- https://www.pritikin.com/food-waste-resources
- Creating the Best
At-Home Composting System
L. David Roper, http://www.roperld.com/personal/roperldavid.htm
18 July, 2020
